Fedora 15にEDA環境を構築する
Fedora 15にEDAツールをインストールしてEDA(Electronic Design Automation)環境を構築します。
EDAツールをインストールする前にソフトウェアをアップデートしておきます。Fedora 15のデスクトップ版をデフォルトでインストールした状態でのレポジトリの設定では、パッケージのダウンロードでエラーが起きました。これを回避するにはアップデート・パッケージのレポジトリサーバー設定ファイル/etc/yum.repos.d/fedora-update.repoでミラーサーバーのURLをコメントアウトしてレポジトリサーバーURLをコメントインします。
[updates]
name=Fedora $releasever - $basearch - Updates
failovermethod=priority
baseurl=http://download.fedoraproject.org/pub/fedora/linux/updates/$releasever/$basearch/
#mirrorlist=https://mirrors.fedoraproject.org/metalink?repo=updates-released-f$releasever&arch=$basearch
enabled=1
gpgcheck=1
gpgkey=file:///etc/pki/rpm-gpg/RPM-GPG-KEY-fedora-$basearch

[updates-debuginfo]
name=Fedora $releasever - $basearch - Updates - Debug
failovermethod=priority
baseurl=http://download.fedoraproject.org/pub/fedora/linux/updates/$releasever/$basearch/debug/
#mirrorlist=https://mirrors.fedoraproject.org/metalink?repo=updates-released-debug-f$releasever&arch=$basearch
enabled=0
gpgcheck=1
gpgkey=file:///etc/pki/rpm-gpg/RPM-GPG-KEY-fedora-$basearch

[updates-source]
name=Fedora $releasever - Updates Source
failovermethod=priority
baseurl=http://download.fedoraproject.org/pub/fedora/linux/updates/$releasever/SRPMS/
#mirrorlist=https://mirrors.fedoraproject.org/metalink?repo=updates-released-source-f$releasever&arch=$basearch
enabled=0
gpgcheck=1
gpgkey=file:///etc/pki/rpm-gpg/RPM-GPG-KEY-fedora-$basearch
そして以下のようにyumコマンドを実行します。
$ su
パスワード:
# yum update
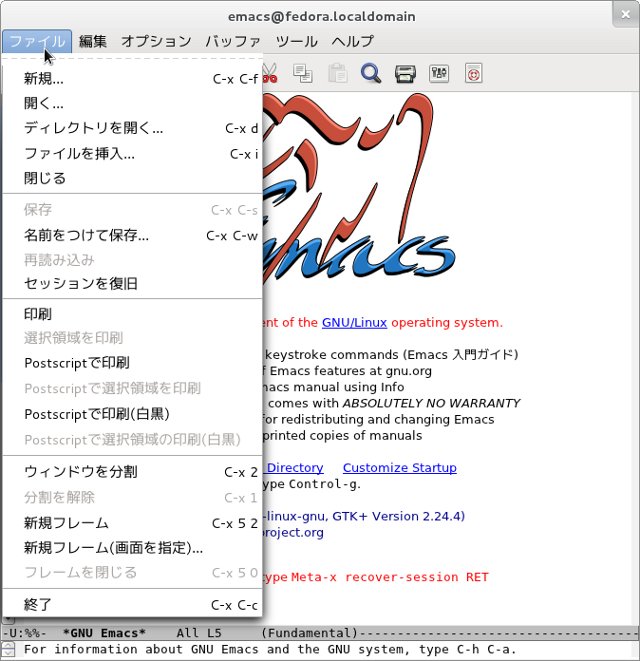
emacsのインストール
Fedora 15のデスクトップ版をデフォルトでインストールした状態では、テキストエディタのemacsはインストールされません。ハードウェア記述言語であるVerilog-HDLのソースを記述するのにemacsを使いますので、なにはともあれemacsをインストールします。
emacsのインストールはyumコマンドで行います。
# yum install emacs 〜中略〜 インストール: emacs.i686 1:23.2-19.fc15 完了しました!
emacsの日本語化
「Ubuntu日本語フォーラム / emacsのメニューの日本語化」に書かれている内容そのまんまですが、emacsメニューを日本語化する方法です。menu-tree.elのぺえじからmenu-tree-el-0.97.tar.gzをダウンロードして、適当なディレクトリで解凍します。
$ tar xvfz menu-tree-el-0.97.tar.gz
解凍してできたmenu-tree.elを/usr/share/emacs/site-lisp/に移動します。
$ su
パスワード:
# mv menu-tree-el-0.97/menu-tree.el /usr/share/emacs/site-lisp/
以下のようにバイトコンパイルします。
# emacs -batch -f batch-byte-compile /usr/share/emacs/site-lisp/menu-tree.el
ホームディレクトリの.emacsファイルに以下の2行を追加します。
(setq menu-tree-coding-system 'utf-8)
(require 'menu-tree)
これでemacsを起動するとメニューが日本語化されています。
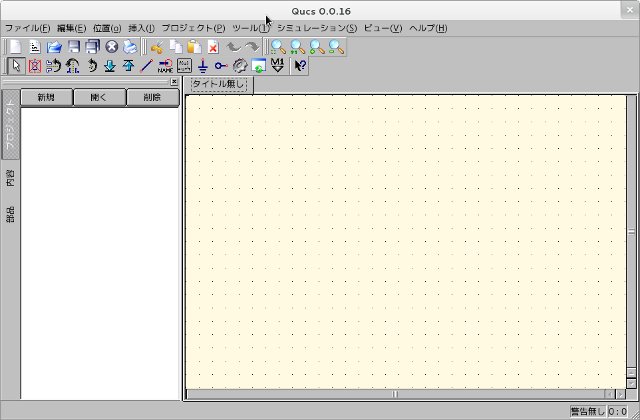
Qucsのインストール
Qucsの2011年6月15日現在での最新版は5月17日にリリースされた0.0.16です。yumコマンドでインストールできますが、Fedora 15をデスクトップ版でインストールしているため、依存関連を解決するパッケージに必要なgccのコンパイラといった開発ツールも一緒にインストールされます。
$ su パスワード: # yum install qucs 〜中略〜 インストール: qucs.i686 0:0.0.16-1.fc15 依存性関連をインストールしました: autoconf.noarch 0:2.68-2.fc15 automake.noarch 0:1.11.1-5.fc14 binutils.i686 0:2.21.51.0.6-6.fc15 cloog-ppl.i686 0:0.15.9-3.fc15 cpp.i686 0:4.6.0-9.fc15 freehdl.i686 0:0.0.8-1.fc15 gcc.i686 0:4.6.0-9.fc15 gcc-c++.i686 0:4.6.0-9.fc15 glibc-devel.i686 0:2.14-4 glibc-headers.i686 0:2.14-4 iverilog.i686 0:0.9.20110317-1.fc15 kernel-headers.i686 0:2.6.38.8-35.fc15 libmpc.i686 0:0.8.3-0.3.svn855.fc15 libstdc++-devel.i686 0:4.6.0-9.fc15 libtool.i686 0:2.4-4.fc15 ppl.i686 0:0.11.2-1.fc15 ppl-pwl.i686 0:0.11.2-1.fc15 qt3.i686 0:3.3.8b-35.fc15 完了しました!
VerilogシミュレータのIcarus Verilog、VHDLシミュレータのFreeHDLパッケージもいっしょにインストールされています。
Qucsの日本語化
メニューバーの「File」-「Application Settings...」のSettingタブで「Language(set after reload)」を「Japanese(jp)」に、「Font(set after reload)」で好みのフォントとサイズを選び「OK」を押して、一度終了し再度起動することで日本語になります。
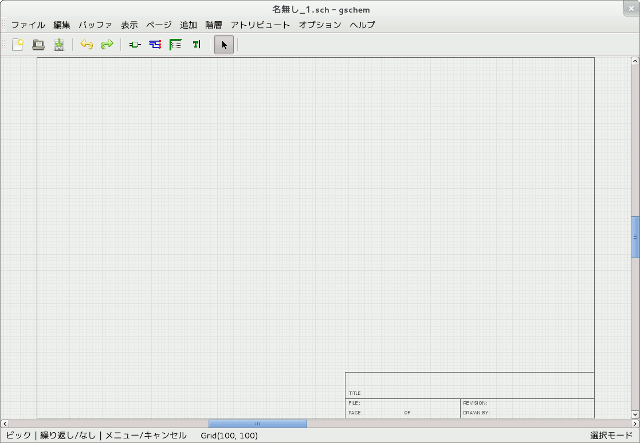
gEDA/gafのインストール
gaf(gschem and friends)は回路図作成ツールgschem、ネットリスト生成ツールgnetlist、部品リスト生成ツールgattrib、回路図のシンボル集symbols、そしてシンボルチェックツールgsymcheckからなるパッケージ集です。
gEDA/gafのインストールはyum install geda-gafで行います。
# yum install geda-gaf 〜中略〜 インストール: geda-gaf.i686 1:1.6.2-2.fc15 依存性関連をインストールしました: geda-docs.noarch 1:1.6.2-2.fc15 geda-gattrib.i686 1:1.6.2-2.fc15 geda-gnetlist.i686 1:1.6.2-2.fc15 geda-gschem.i686 1:1.6.2-2.fc15 geda-gsymcheck.i686 1:1.6.2-2.fc15 geda-symbols.noarch 1:1.6.2-2.fc15 geda-utils.i686 1:1.6.2-2.fc15 libgeda.i686 1:1.6.2-2.fc15 libstroke.i686 0:0.5.1-25.fc15 完了しました!
インストールが終了すると「アクティビティ」-「アプリケーション」-「その他」にgEDA Attribute EditorとgEDA Schematic Editorのランチャーが追加されています。
gschemの設定ファイルであるsystem-gschemrcは/ura/share/gEDAにインストールされています。ユーザー毎に設定するにはホームディレクトリにgschemrcファイルを作成し変更する部分を記載しておきます。以下の設定は、背景を黒から白に、untitled-nameを名無しに、1200x800の画面サイズに合った回路入力領域のサイズを追加してデフォルトとしています。
; Load up a color scheme which has a dark (black) background.
; Comment out the first line and comment in the second line for a
; light (almost white) background.  The dark background is the
; original look.
;
;(load (build-path geda-rc-path "gschem-colormap-darkbg")) ; dark background
(load (build-path geda-rc-path "gschem-colormap-lightbg")) ; light background

; untitled-name string
;
; Specify the default untitled basename (usually only used a startup time)
; And typically not changed at runtime
;
;(untitled-name "untitled")
(untitled-name "名無し")

; window-size width height
;
; Specifies the size of the drawing area window.  The width and height
; are specified in pixels and do not include the three menu bars and
; scrollbars (so the window will be larger than the specified
; measurements). Try to keep an aspect ratio of 1.333333 if at all possible.
; These numbers are NOT the true size of the window, but of the drawing area.
;
;(window-size 650 487)  ; Good size for 800x600
;(window-size 900 650)   ; Good size for 1024x768
;(window-size 950 712)  ; Good size for 1152x864
(window-size 1100 700) ; Good size for 1280x800
;(window-size 1100 825) ; Good size for 1280x1024
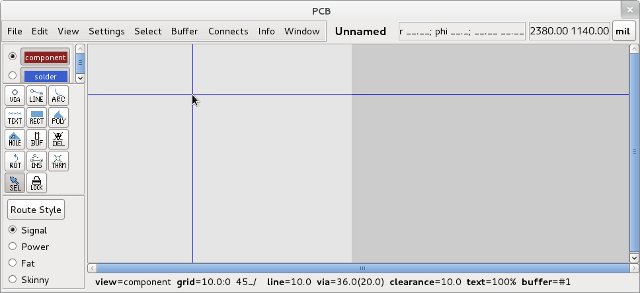
PCBのインストール
プリント基板レイアウトツールであるPCBをインストールします。インストールはyumで行います。
# yum install pcb 〜中略〜 インストール: pcb.i686 0:0.20100929-2.fc15 依存性関連をインストールしました: electronics-menu.noarch 0:1.0-8.1.fc15 tk.i686 1:8.5.9-4.fc15 完了しました!
「アクティビティ」-「アプリケーション」-「その他」にPCB Designerのランチャーが追加されています。以下、起動した初期画面です。